Insights Hub Monitor Plugin SDK – Demo Plugin
The distribution files provide a fully working sample for the Insights Hub Monitor Plugin in the demo folder.
The sample demonstrates the basic functionality of the plugin interface and can be enhanced with custom functionality for your own application. This section describes how to get the sample plugin running.
Prerequisites
- Source code editor, e.g., Visual Studio Code.
- Developer plan.
- Node.js and npm are installed and configured.
- You have at least the role
mdsp:core:Developerin your tenant. - You have installed and configured the Cloud Foundry CLI
- You have at least
SpaceDeveloperrights in your Cloud Foundry space.
Building the Plugin
- Unzip the SDK and open the
demodirectory in your IDE. Install the SDK using the following command (use the version provided with the sources):
npm install ../src/ihm-plugin-sdk-3.0.1.tgzInstall all other public dependencies:
npm installOpen the
manifest.ymlfile and customize the plugin name.Build the demo plugin using:
npm run build
Deploying the Plugin to Cloud Foundry
- Open a command line interface (CLI) inside the folder with the plugin binary.
Configure the proxy settings, if necessary.
Click here for detailed information on proxy settings
If you are in a company network behind a proxy, you may have to set the proxies to reach the Cloud Foundry endpoints. Contact your administrator, if you face any timeouts or connectivity problems.
Set the proxies for the Cloud Foundry CLI as shown below:
  set http_proxy=http://PROXY_IP:PROXY_PORT
  set https_proxy=http://PROXY_IP:PROXY_PORT
export http_proxy=http://PROXY_IP:PROXY_PORT export https_proxy=http://PROXY_IP:PROXY_PORTLog in to CF using CF CLI. Enter
cf login -a https://api.cf.{region}.{mindsphere-domain} --sso.- Open the URL printed by the CLI and log in using your Insights Hub or Siemens ID credentials to get a one-time code.
- Enter the one-time code in the CLI.
Select your Cloud Foundry org and space using the following command:
cf target -o {org_name} -s {space_name}No Cloud Foundry Orgs displayed
If you do not see any Cloud Foundry orgs, you need to be added to your org. For more information, refer to the How Tos for Cloud Foundry.
- Push the plugin to your Cloud Foundry space using:
cf push
Configuring the Plugin via the Developer Cockpit
Plugin configuration in the Developer Cockpit is very similar to application configuration. For a more detailed description of the following steps, refer to the instructions for Register the Application in the Developer Cockpit.
- Open the Developer Cockpit from the Launchpad and select the Dashboard tab.
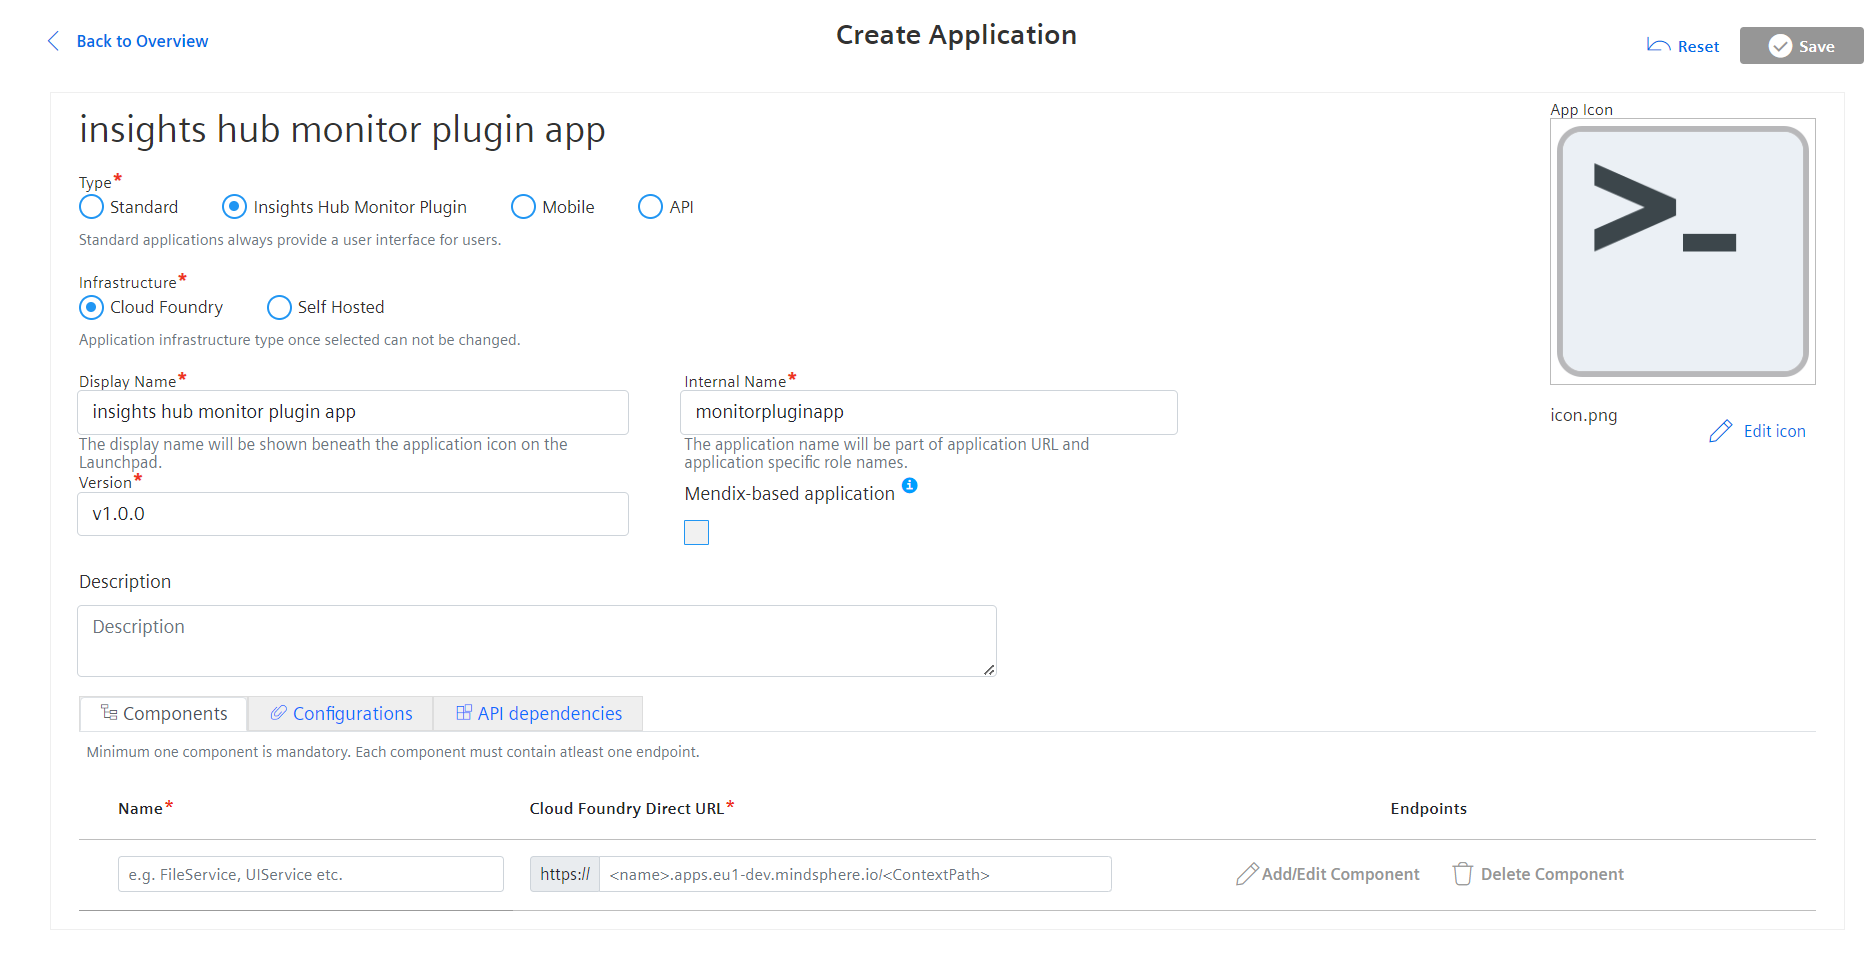
- Click on Create new application.
- Select the type Insights Hub Monitor and infrastructure Cloud Foundry.

- Enter a display name, an internal name and a version number.
- Upload an icon for your plugin
(Support in Operations Insight will come later.) In
Componentstab:- Enter the component name as in the manifest file
- Enter the Cloud Foundry URL of your plugin.
Usecf app {pluginName}to get the URL for your deployed plugin. - Add one endpoint for the component using
/**to match all paths.
In
Configurationtab:- Adapt the content security policy if required:
default-src 'self' static.eu1.mindsphere.io; style-src * 'unsafe-inline'; script-src 'self' 'unsafe-inline' static.eu1.mindsphere.io; img-src * data:;Configure the plugin settings as you want. Please note, that the json must be valid.
- For a sidebar plugin you can use as example:
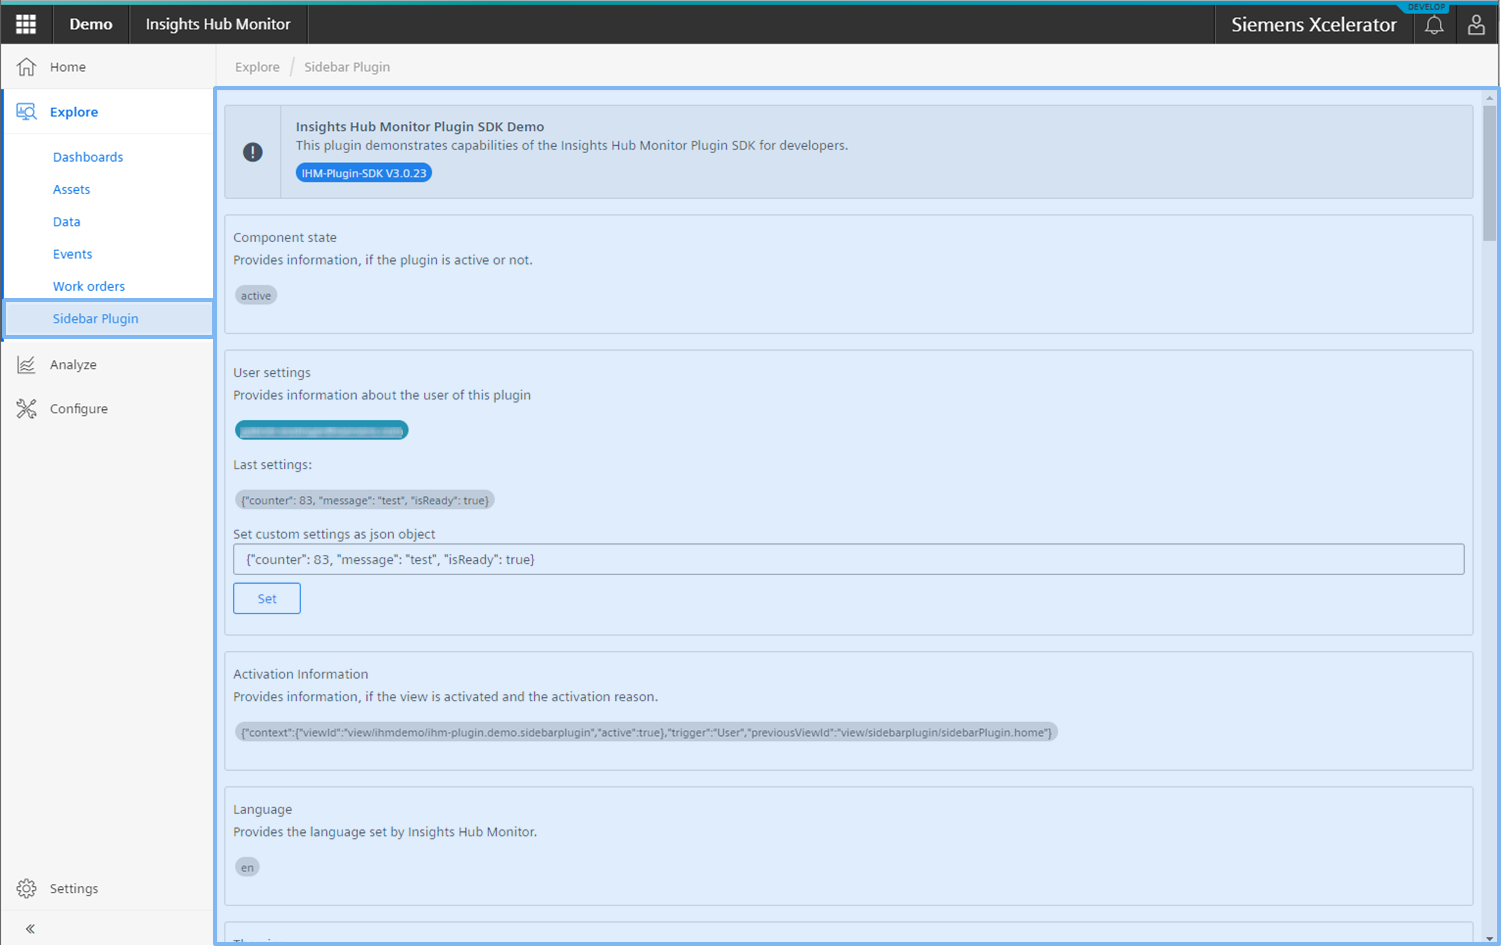
{"views":[{"container":"appBar.explore","displayName":{"default":"Sidebar Plugin","en":"Sidebar Plugin"},"icon":"demo","id":"demo.home","navigationMode":"default","type":"default","url":"/"}]}- For an asset plugin you can use as example:
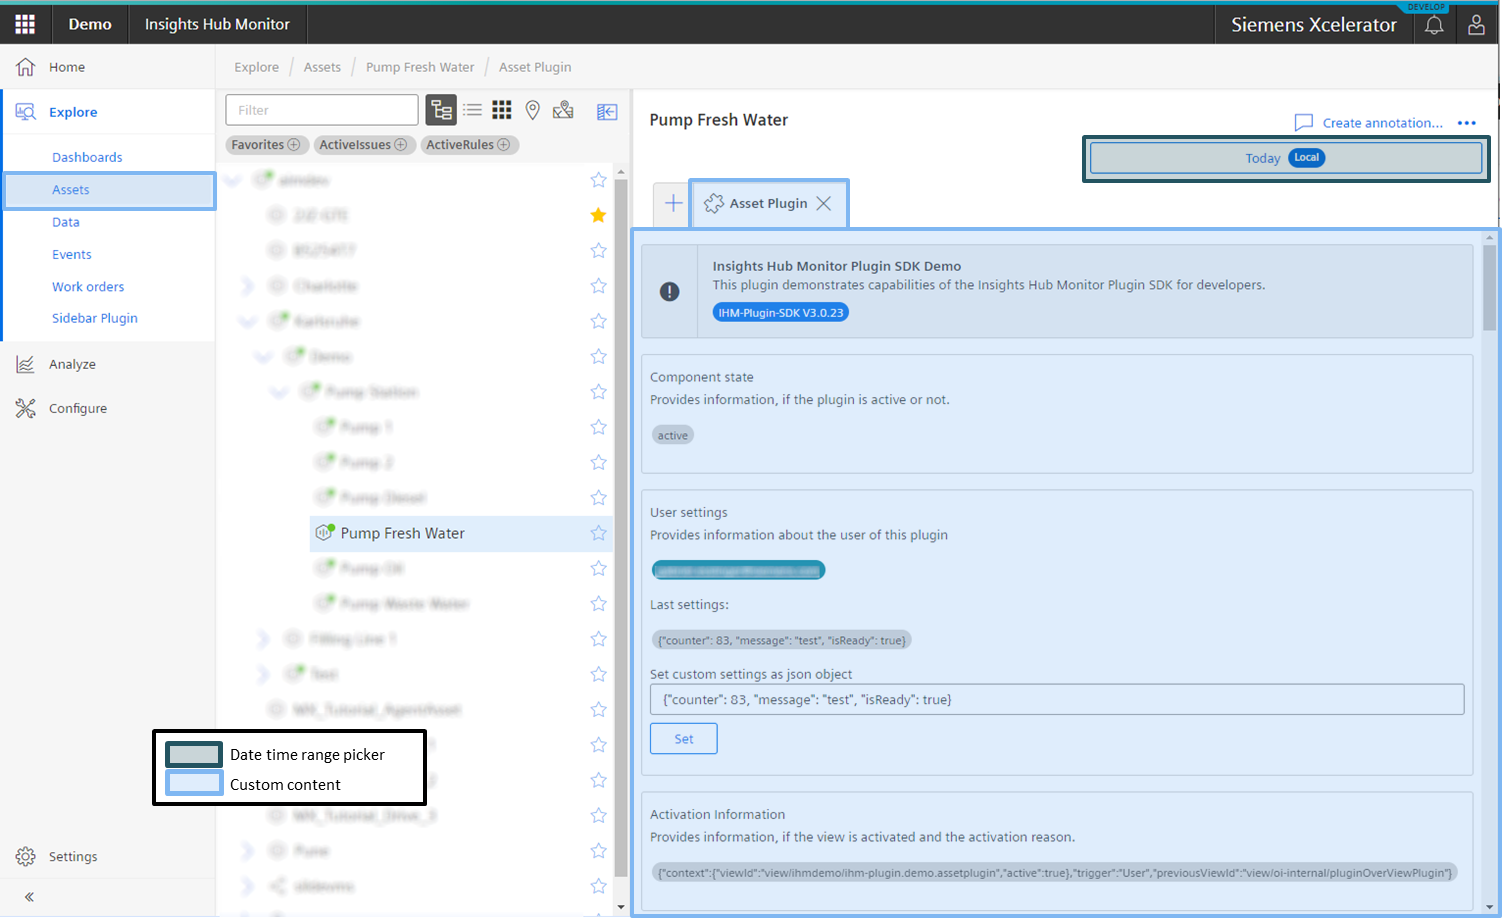
{"views":[{"container":"appBar.explore.assets","displayName":{"default":"Asset Plugin","en":"Asset Plugin"},"icon":"demo","id":"demo.home","navigationMode":"default","type":"default","url":"/"}]}
Click on Save.
If your plugin requires additional scopes, you can configure that in the Role Configuration. 
For this demo plugin you can directly proceed with step 9.
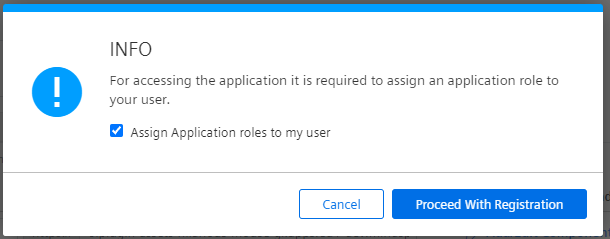
- Register the plugin.
Accept the dialog to assign the roles to your user.
If you configured specific scopes, you have to logout and login again, to get them active.
Open Operations Insight
Depending on you plugin settings, it will be visible
Congratulations!
You have deployed and configured your first Insights Hub Monitor Plugin. You can now prepare your plugin for productive use in the same way as an application.


